
Most homeowners assume a broken spring means the garage is down for the day. In reality, a straightforward spring replacement takes 45 to 90 minutes from the moment a technician walks through the door — and understanding exactly how garage door spring repair works step by step removes the guesswork so you can plan around it.
Here’s what the job actually looks like, why it takes as long as it does, and what separates a safe, long-lasting repair from a quick patch that fails in six months.
How long garage door spring repair actually takes (realistic benchmarks)
Before anything else, let’s set honest expectations. Times below assume a technician who arrives with the right parts on the truck — which is how we operate on every service call.
- Single torsion spring replacement (standard 16×7 door) → 45–60 minutes. One spring, straightforward winding, cable check included.
- Double torsion spring replacement (heavy or two-car door) → 60–90 minutes. Two springs must be wound in balance; rushing this step causes uneven tension and premature wear.
- Extension spring replacement (both sides) → 45–75 minutes. Extension systems involve more pulleys and safety cables, so thorough inspection adds time.
- Spring replacement + cable replacement (same visit) → 75–120 minutes. Cables often fray when a spring breaks suddenly; replacing both at once is always more efficient than two separate trips.
- Spring replacement + full tune-up → 90–120 minutes. Lubrication, roller check, balance test, and limit adjustments are folded in.
If a technician quotes you “15 minutes” on a spring job, that’s a red flag. Proper winding, tensioning, and safety checks cannot be done responsibly in that time.
Why springs break — and why it matters before the fix begins
Every torsion spring is rated for a specific number of cycles — typically 10,000 on a standard residential spring, or up to 25,000–50,000 on a high-cycle upgrade. A household that opens and closes the door four times a day hits 10,000 cycles in about seven years. Cold Pennsylvania winters accelerate metal fatigue; we see a notable spike in broken springs every January and February in the Pittsburgh area.
Understanding why a spring broke shapes what we do next:
- Normal wear at end of cycle life → Replace with the correct size (or upgrade to high-cycle springs) and inspect cables.
- Incorrect spring installed previously → Fix the root cause, not just the symptom. A wrong-diameter or wrong-length spring will fail faster and stress the opener motor.
- Rust and corrosion → Common in older Uniontown PA homes with uninsulated garages. We treat the new spring with a dry lubricant to extend life.
- Physical impact or cable snap → Check the drum and cable anchor bracket for damage before winding the new spring.
Skipping this diagnostic step is how shoddy repairs earn a callback in 90 days.
Is Your Garage Door Giving You Trouble?
Dealing with a broken garage door? Our experienced technicians provide quick, dependable repairs for broken springs, damaged openers, off-track doors, and more. We deliver quality workmanship and prompt service to get your garage door working safely again.
What our technician does the moment they arrive
The first five minutes of any spring job are pure information-gathering, and they set up everything that follows.
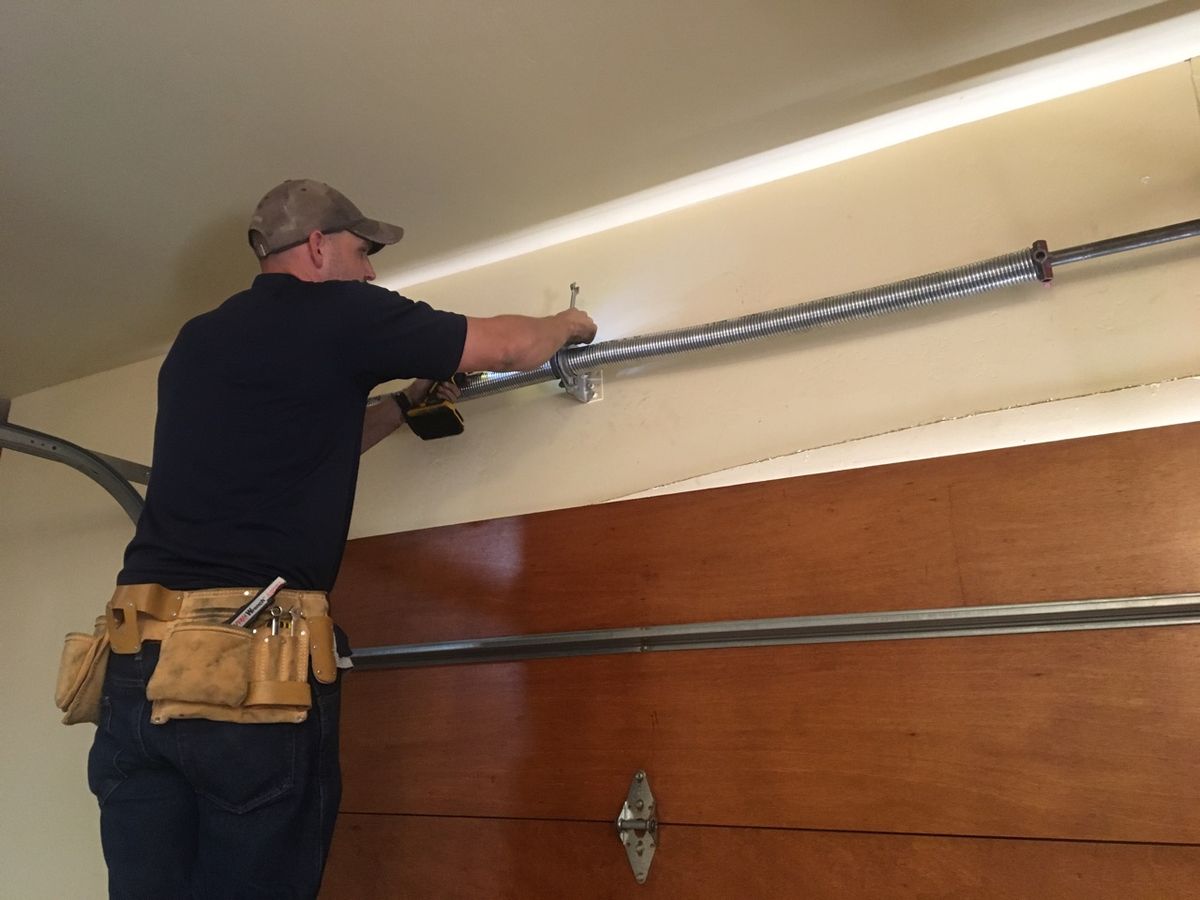
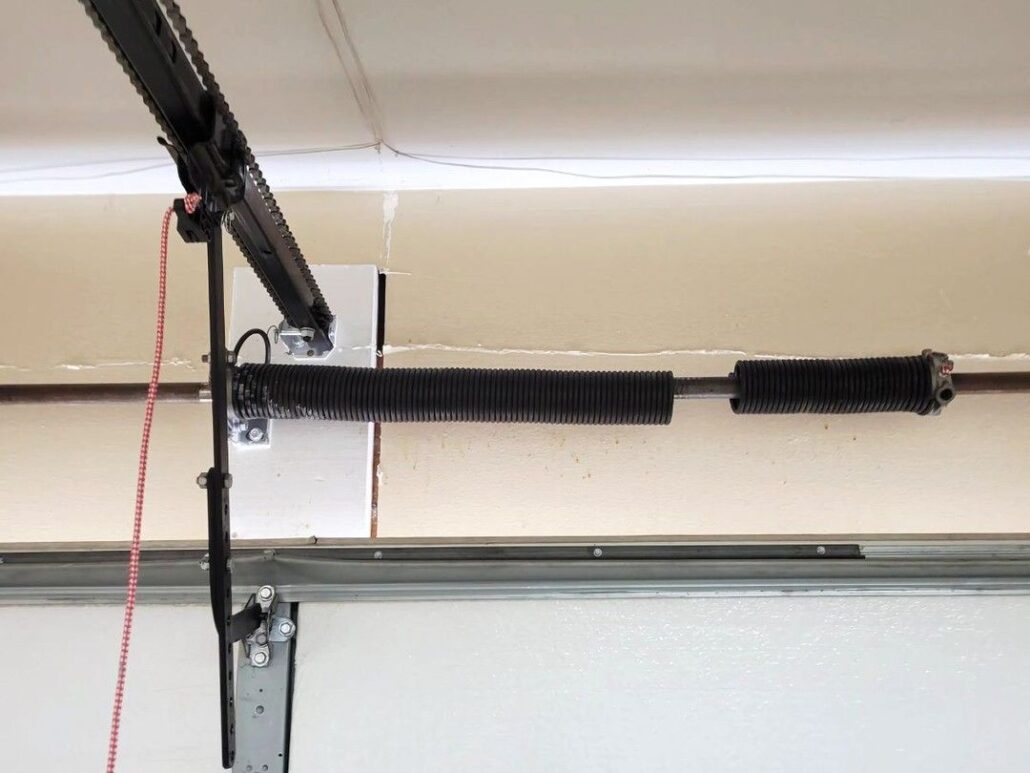
Visual inspection of the break. We confirm whether it’s a torsion spring (mounted on the horizontal shaft above the door) or an extension spring (running along the horizontal tracks on each side). We also check whether one or both springs failed — on a double-spring system, replacing only the broken one leaves a mismatched pair that will strand you again soon.
Door balance assessment. Even with a broken spring, we can manually lift the door about a foot and release it to assess prior balance. A door that was already out of balance before the spring snapped tells us something was wrong upstream.
Cable and drum check. Broken springs often take cables with them when they snap. We inspect the lift cables at the bottom bracket, along the drum, and at the anchor point. Frayed cables get flagged immediately — continuing to operate a door on damaged cables is genuinely dangerous.
Spring sizing. Wire diameter, inside diameter, and length must match the door’s weight precisely. We measure or confirm against the door’s spec label. If a previous tech installed the wrong spring, we correct it here.
The spring replacement process from start to finish
Here’s the actual sequence we follow on a torsion spring job — the most common type we handle:
1. Secure the door in the down position
We clamp the door to the track with locking pliers so it cannot move while we work under spring tension. This is non-negotiable.
2. Release residual tension from the old spring
Even a broken spring can hold stored energy. We use two properly sized winding bars — never a screwdriver, never an improvised tool — to safely unwind any remaining tension before touching the spring itself.
3. Loosen and slide the spring off the shaft
Set screws on the winding cone are loosened, and the spring slides off the torsion bar. On a double-spring setup, both springs come off together so cable drums can be reset correctly.
4. Reset the cable drums
Cables are unwound from the drums, and the drums are repositioned at the correct flag-bracket angle. This step is where a lot of DIY attempts go sideways — improper drum setting leads to uneven lift and a door that binds in the tracks.
5. Install the new spring(s)
The new spring slides onto the shaft with the correct winding direction (right-wind goes on the right side, left-wind on the left). Stationary cones are tightened at the center bracket before any tension is applied.
6. Wind the spring to the correct tension
This is the most skilled part of the job. We apply the calculated number of quarter-turns based on the door height — typically seven turns per foot of door height as a starting point, then adjusted. Winding is done in quarter-turn increments, alternating bars, keeping hands clear of the spring cone at all times. Rushing this step or using the wrong number of turns is how springs snap during winding and send a bar across a garage.
7. Stretch the spring and set the set screws
After winding, the spring is stretched about a quarter-inch toward the cable drum end to remove any coil binding. Set screws are tightened with proper torque — under-tightened screws back out and release tension suddenly.
8. Wind and secure the cables onto the drums
Cables are wound onto the drums in the correct groove pattern with even tension on both sides. Sloppy cable winding causes the door to drift left or right.
9. Test the door balance
We lift the door manually to about four feet and release it. A correctly balanced door holds position. If it drops or shoots up, tension is adjusted until it holds steady.
10. Reconnect the opener and run full cycle tests
The opener is re-engaged and we run the door through several full open-and-close cycles, checking for smooth travel, proper limit settings, and auto-reverse function.
For our customers in Uniontown PA, this full sequence is exactly what you get when you book Garage door springs repair Uniontown PA — no steps skipped, no corners cut.
Torsion vs. extension springs: does the process change?
Yes, in meaningful ways. Extension springs run along the horizontal tracks and stretch under tension rather than twist. The replacement process is less about winding bars and more about pulley alignment and safety cable routing.
What’s different with extension springs:
- Both springs must be replaced together (even if only one broke) to keep lift force balanced.
- Safety cables that thread through each spring must be reinstalled correctly — these prevent the spring from becoming a projectile if it snaps under load.
- Pulley brackets must be inspected for wear since they take the full force of an extension spring system.
The job takes similar time but requires careful pulley and cable work that torsion systems don’t involve. We apply the same diagnostic-first approach whether we’re in Uniontown or handling garage door springs repair in Greensburg — the process doesn’t change because the zip code does.
Frequently Ask Questions
Frequently Asked Questions about garage door spring repair
Technically possible, but genuinely high-risk. Torsion springs store enough energy to cause serious injury if a winding bar slips or a spring snaps during the process. We’ve been called to fix jobs that went wrong at home, and the repair bill is always higher than if we’d handled it first. Professional replacement is worth it for the safety margin alone.
Almost always yes. If you have two torsion springs and one breaks, the surviving spring has logged the same number of cycles. Replacing only the broken one pairs a new spring with a near-end-of-life spring — the second failure typically comes within months. Replacing both at once saves you a second service call and keeps tension balanced.
Standard residential springs are rated for 10,000 cycles. High-cycle springs (which we offer as an upgrade) go to 25,000 or 50,000 cycles. For an average household, standard springs last 7–10 years; high-cycle springs can last 20+ years. The upgrade cost is modest and well worth considering.
It might move the door, but we strongly recommend against it. Running an opener against the full weight of an unsprung door burns out the motor faster and puts stress on the drive mechanism. Disengage the opener and leave the door down until the spring is replaced.
Yes. Our service vehicles are stocked with the most common torsion and extension spring sizes for residential doors in the Pittsburgh area. Same-day repair is standard for most jobs — not a premium add-on.
If your spring snapped this morning or you’ve been lifting the door manually for a week, the repair process is faster and more straightforward than you might expect. Our team at A1 garage door repair service serves homeowners across southwestern Pennsylvania — and if you’re outside our Uniontown coverage area, we also handle garage door repair in Monroeville and surrounding communities. Call us today to schedule a same-day appointment in Pittsburgh, PA and the surrounding area — we’ll have your door balanced, tested, and running smoothly before dinner.